Fracture Mechanics Clip-On Gages – Model 3541
Epsilon’s experts have many years of experience in the field of fracture toughness and fracture toughness testing. Please feel free to call and discuss your application requirements with them at any time.
In-house frequency testing on small measuring range 3541 units (+2.5 mm) was successful to 150 Hz with a ±0.13 µm amplitude. At this level, there was no appreciable change in the noise level compared to lower frequencies.
For longer measuring range units (+10 mm), 50 Hz was the maximum frequency that could achieved without excessive noise levels.
Please feel free to contact Epsilon with your own high frequency questions and requirements.
With verifiable CALIBRATION SYSTEM ACCURACY and resolution sufficient to meet the requirements of ASTM fracture toughness gages, you can be assured that your COD gages will perform to your testing requirements.
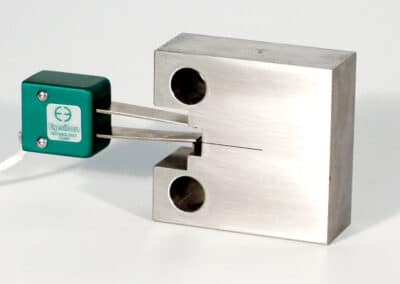
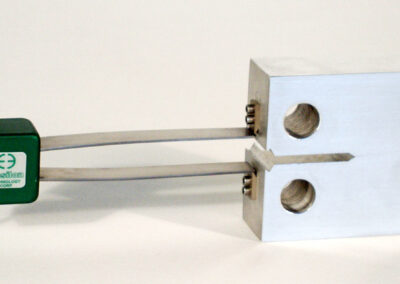
The Model 3541 is designed for determination of fracture mechanics parameters such as JIC, KIC, R-curve, fatigue crack growth rate (da/dN), and testing to standards such as E1820, E399, E647, etc. These COD gages conform to the requirements of E1820 for JIC and R-curve determination. Special configurations are available to meet the requirements of ASTM E399 for fracture toughness (please consult the factory for these configurations). In addition, the modified groove design complies with E1820 tests where greater stability and accuracy results from the sharper groove root.
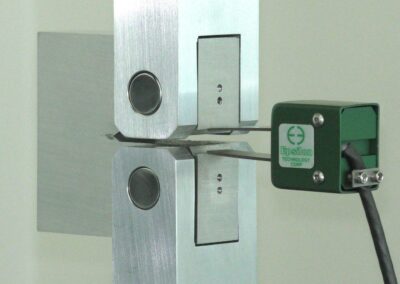
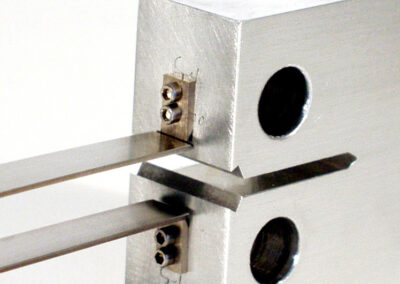
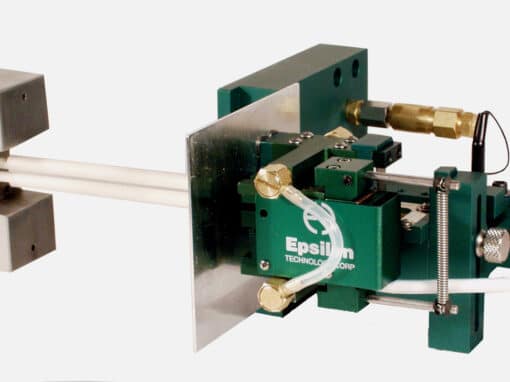
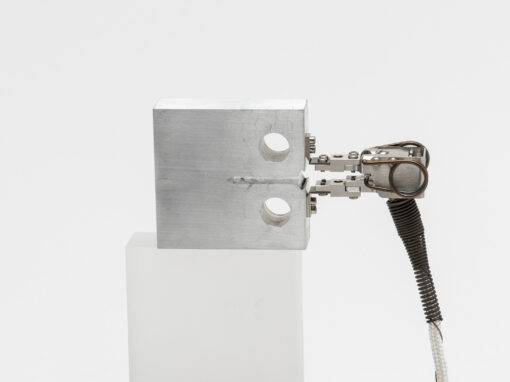
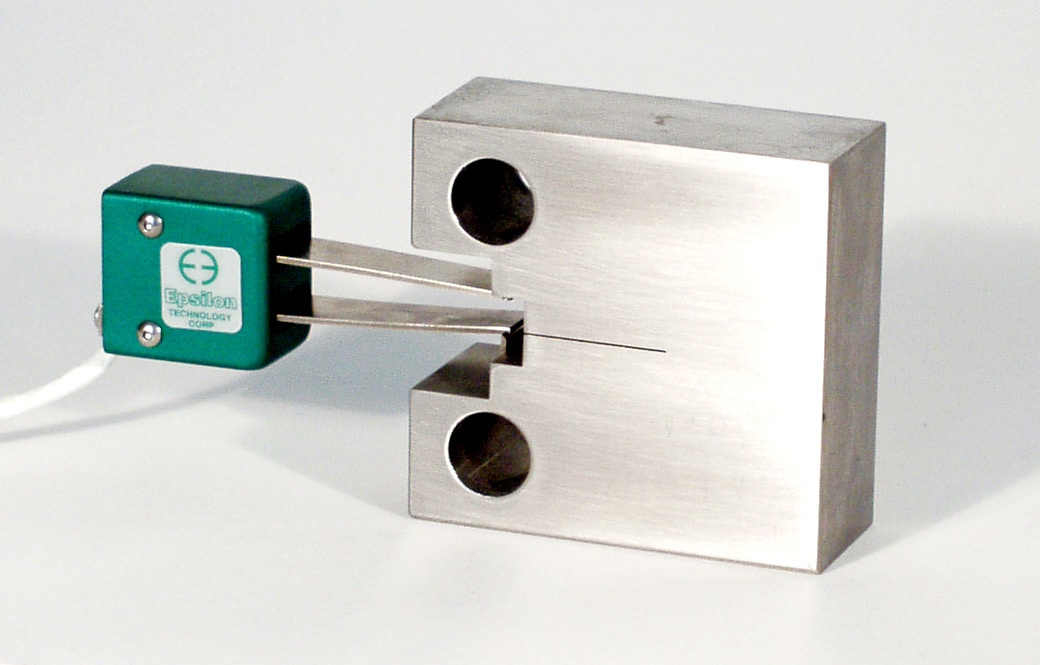
Clip-on gages are used for a variety of fracture mechanics tests, including compact tension, arc shaped, disk shaped, bend specimens or other specimen geometries in compliance with ASTM and other standards organization’s test methods. Clip-on gages can be used directly on test specimens where the knife edges are integral with the test specimen or, alternately, with optional bolt-on knife edges mounted on the test specimen.
Model 3541 crack opening displacement gages are strain gaged devices, making them compatible with any electronics designed for strain gaged transducers. Most often they are connected to a test machine controller with electronics for a strain channel, and Epsilon will equip the extensometer with a compatible connector that is wired to plug directly into the controller. For systems lacking the required electronics, Epsilon can provide a variety of signal conditioning solutions that enable connecting to data acquisition systems or other equipment.
- May be left on through specimen failure.
- Full bridge, 350 ohm strain gaged design for compatibility with nearly any test system.
- Fully enclosed gages are protected from accidental damage.
- Sharp grooves per ASTM E1820 and E399 for improved stability when mounted.
- Maximum operating frequency may be from 5 Hz to >200 Hz depending on COD gage and test apparatus configurations.
- For da/dN testing or pre-cracking, where maximum frequency (>50 Hz) is required, minimum measuring ranges are recommended.
- For KIC/JIC testing, maximum accuracy is achieved with the smallest measuring range and the largest gauge length that will perform the test.
- Includes the Epsilon Shunt Calibration System for on-site electrical calibration.
- Includes high quality foam lined case.
Excitation: 5 to 10 VDC recommended, 12 VDC or VAC max.
Output: 2 to 4 mV/V, nominal, depending on model
Accuracy: All standard configurations meet ASTM E1820, ISO 12135, and ISO 9513 Class 1 requirements for accuracy. A test certificate is included. Models that additionally meet ASTM E399 accuracy requirements are available in 2.5 and 4.0 mm (0.10 and 0.15 inch) measuring ranges. A test certificate for ASTM E399 is included with those models.
Linearity: ≤0.2% of full scale measuring range
Temperature Range: Standard (-ST) is -40 °C to +100 °C (-40 °F to +210°F)
Cable: Integral, ultra-flexible cable, 2.5 m (8 ft) standard
Operating Force: 9 to 14 N (2 to 3 lbs), depending on model
![]()
- Connectors to interface to nearly any brand of test equipment
- Available in special versions, including setups for narrow grips
- Bolt on knife edges
- See Model 4030COD for applications requiring submersion in liquids
Special Models for Other Fracture Mechanics Testing
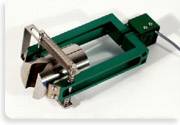 Special units are available for other fracture mechanics tests. For example, the photo to the right shows a gage for ASTM E1304, Standard Test Method for Plane-Strain (Chevron-Notch) Fracture Toughness of Metallic Materials. This example was produced for a 1 inch diameter bar, with 0.4 inches of measuring range. Its performance, design, and accuracy is an enhancement of the design recommended in E1304.
Ordering Information
Click table options to configure
| mm or inches | # |
|---|---|
| 3.0 mm | -003M |
| 5.0 mm | -005M |
| 8.0 mm | -008M |
| 10.0 mm | -010M |
| 12.0 mm | -012M |
| 20.0 mm | -020M |
| 0.100 in | -0010 |
| 0.200 in | -0020 |
| 0.300 in | -0030 |
| 0.400 in | -0040 |
| 0.475 in | -0047 |
| 0.500 in | -0050 |
| extension | # |
|---|---|
| +2.5 mm | -025M¹ |
| +4.0 mm | -040M¹ |
| +7.0 mm | -070M |
| +10.0 mm | -100M |
| +12.0 mm | -120M |
| +0.100” | -100T¹ |
| +0.150” | -150T¹ |
| +0.200” | -200T² |
| +0.250” | -250T |
| +0.500” | -500T |
| degrees | # |
|---|---|
| -270 °C to 100 °C (-454 °F to 210 °F) | -LT |
| -40 °C to 100 °C (-40 °F to 210 °F) | -ST |
| -40 °C to 150 °C (-40 °F to 300 °F) | -HT1 |
| -40 °C to 200 °C (-40 °F to 400 °F) | -HT2 |
| -270 °C to 200 °C (-454 °F to 400 °F) | -LHT |
¹Available with special configuration to meet the requirements of ASTM E399 – inquire with Epsilon.
²Not available in 0.1 inch gauge length.
Example: 3541-010M-070M-LT: 10.0 mm gauge length, +7.0 mm measuring range, low temperature option (-270 °C to 100 °C)
Related Models
Repairs/Service
If your unit is in need of service, calibration or repair, initiate the RMA process with us and we will be happy to assist.
Get Our Newsletter
Sign up for our newsletter to get the most up-to-date information on products and services.
Download Catalog
Our 2022 Extensometer Catalog, Version 110 is now available! Not finding something you’re looking for? Ask us about a custom quote.

